See our review in MRH:

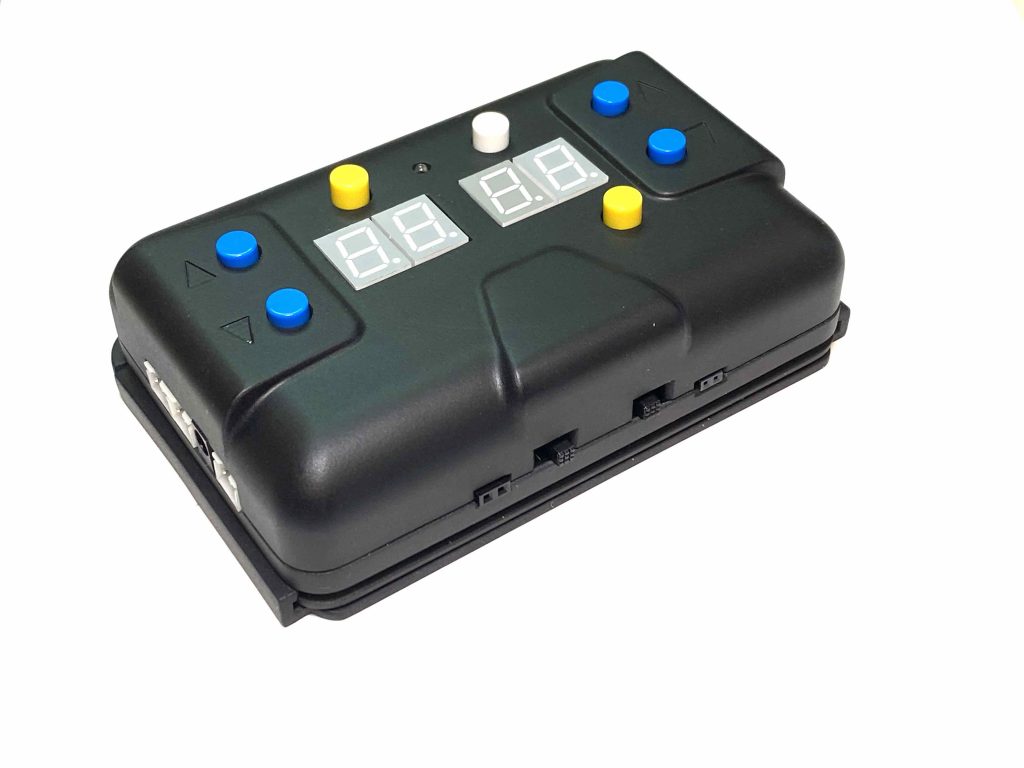
Hello everyone. This is Jim from model-train technology and I’d like to share with you our new LED scene controller. This is a very exciting product and what this is is a combination of DCC decoder LED scene controller and it fully supports all of the woodland scenic products.
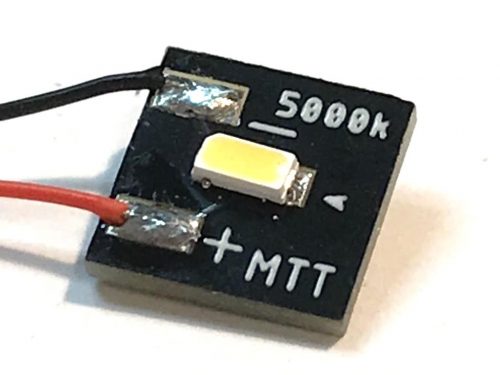
I’m going to give you a run-through on how it works there are sixteen ports around there are two ways to power it there’s the white plug that’s used by woodland scenic and then there’s a barrel connector and we’ll show you that one how that works in a minute all you do is plug it in have a power supply right here and I’m going to turn the power switch on and what you’ll see is in a second the numbers one two three four will show up and that will tell you that the system is running and so what we’re going to do is we’re going to take one of our little test LEDs and I’m going to
just plug it in.
You can see it blinking now to program this little device has over a hundred animations built into it so it has the power supply to support over thirty LEDs it has over a hundred special effects that you can program on each and every one of the pins in addition to that every single pin can be individually controlled for brightness and so we’ll show you how that works the special effects that are available are flicker blink beacon fading random all the lights going on randomly we have a chase and racing scene alternate flashing TV simulation Mars effect arc welding and lightning all of that built into one device this is a hundred and twenty dollars it comes with a mounting bracket and so you can mount it anywhere in the layout there are friction fingers that will hold it in place and it will use the standard 12 volt which is what woodland cynics are 12 vote LEDs and simultaneously this is a 3.3 volt it will also work with 3.3 volt LEDs and you individually adjust every single pin.
I’ll show you how simple it is to program so right now this light is blinking let’s change it to a rotating beacon which will mean a fades up slashes and then fades down put it into keypad mode I’m holding this button for a second on the left hand side is the pin number so 1 2 3 and it goes on to show us that that’s the pin that we’re working with and on the right hand side there’s a two digit space the number 8 is showing that goes up to 99 so any number you put in here will create a different effect on the light I know that 3 sorry 4 is rotating beacon I save that the lights flash and then I take it out of keypad mode and you’ll see that now the light will be rotating beacon and so forth for all of the different pins to adjust the brightness we put it back into keypad mode we’ll dial up to pin 3 and then on the right-hand side this button we push once and you’ll see the decimal points that means that this is now can be adjusted for brightness it’s at 20% brightness we just hold the up key and we can scroll for quickly through let’s say 50 save it and now that pin is at 50% brightness okay so that’s the controller
I have another one here and I’ll show you I have a different power supply and this power supply you can get on our website you can buy it as part of the kit and this goes into the barrel connector on the on the left hand side and what we’re going to do is just turn that on and the same sequence of 1 2 3 4 tells us it’s all ready to go and I have a pile of woodland scenic LEDs here and I’m going to just start plugging them in and in this case what I have here is alternating flashing so you can see that I have two adjacent pins and they’re alternate flashing so all of the special effects from those boards that used to buy for 10 to 15 dollars all of that’s built into one hand controller so check out our website there’s more information there that’s the LED scene controller II from model train technology.

