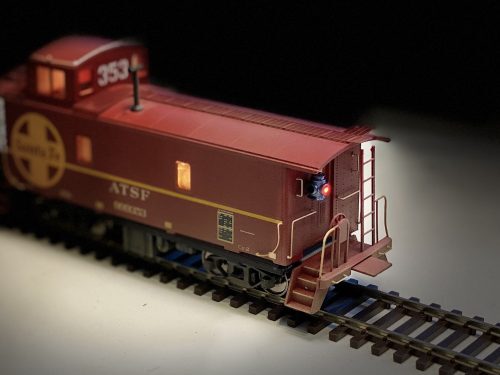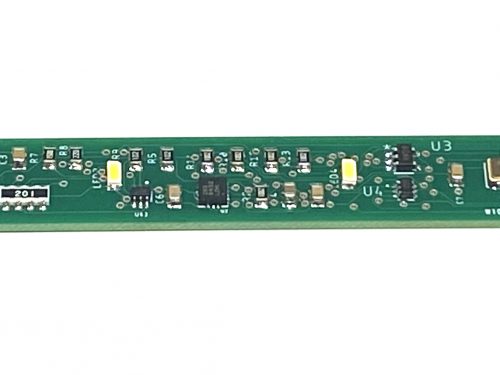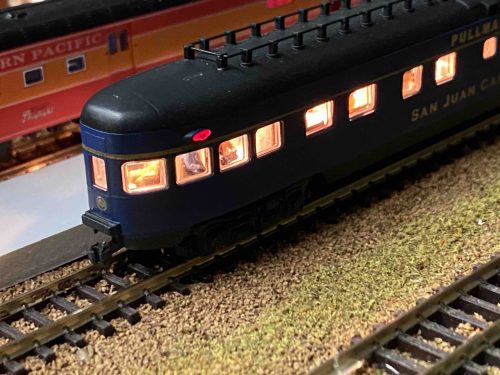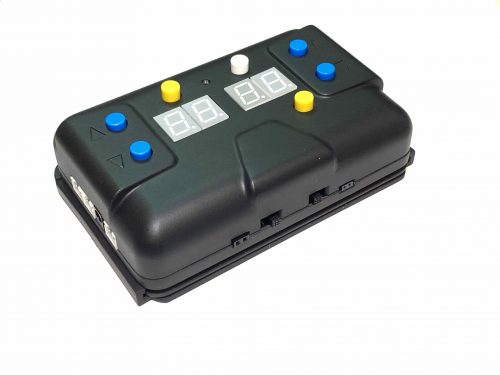
A critical part of our success with interior lighting control boards for scale model railroad cars was finding a way to retrofit cars that did not come with factory installed wheel pickups. This includes N and HO scale which is our primary focus. We began our business adventure by working with Kato brand cars which ALL come with built in wheel pickups. Kato also has a lighting system but it is pretty bad in terms of actually getting proper lighting inside the car.
So, to come up with a solution for train cars that don’t come with pickups our first step was to find a product that already existed. Since we are in the business of designing electrical circuits we didn’t want to have to also solve this problem. We purchased all the different types of wheel pickups we could find. This included full trucks as well as many flavors of brass endings/etchings. All of the later type (brass) recommended that you glue, epoxy or screw the brass piece onto to the truck. Then, by frictions the tabs of the brass would bend against either the wheel axle or the wheel itself.
We discovered that there are two problems with this approach. The first is that the added friction against the wheels or axles adds up quickly so that our engines began having problems pulling trains longer than 10 cars. That wasn’t going to work. The “push” of the brass parts against the wheels and axles also cause the axle to bind and against its pinion. The final problem was that the surface to surface contact between the brass and the wheels was very small. Although we have anti flicker and stay alive capability built into our boards, it wasn’t enough to over come the inherent physics problem.
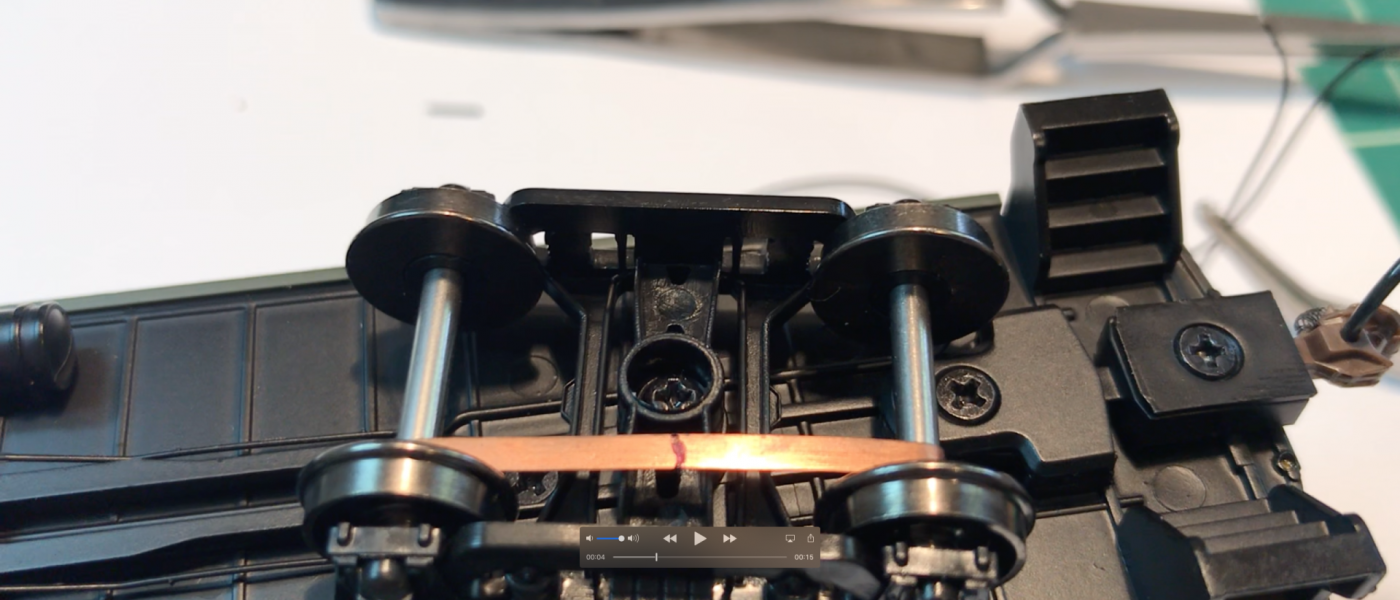
After tinkering with this for a few weeks we took a shot at a more simplistic approach which was to simply wrap a small 1mm or 2mm (N or HO scale) brass strip around the axle and then instead of fastening it to the truck, we just left it “floating”. With a 36AWG wire attached to the center of the brass we ran that up through a location under the truck and connected it to our board. This approach made a huge improvement and solved the aforementioned problems. The surface area of the brass wrapped around the axle was more that the “touch” method. Since the brass was not fastened to anything else it could float and thus avoided the pinching on the axel. This method also reduce dramatically the amount of friction against the axle which reduced the over all pulling power needed to run the train.
Over the coming month or so we further refined the approach by having the brass etched so that we could get neat and clean 1mm and 2mm strips at the gauge “thinness” that we wanted. The place we found for this work was in Scotland of all places!
As a final design update we added a additional solder pad at the opposite end of the circuit board. For Kato and some other brands, the two wheel pickup are at the same end of the car. Thus, we have two solder pads for the DCC pick up at the same end. For those wiring the car using our brass pickup approach the wires will come from opposite ends, one from each end, so that the pick ups can get power from both sides of track. Rather than running a wire through the care you simply connect on wire on each end. (Make sure to not to short the wires-see the installation notes for more details)
I didn’t mention yet that you may need to swap you truck wheels to ones that have a single insulated wheel, not both. Make sure that the insulated side is the same on a single truck but that the trucks themselves are reversed.
We sell the brass trips in our store for slightly over our costs. That way they should not be a cost barrier to having a good (perhaps excellent) pickup system.
Feel free to write to me if you have any questions.
Jim@ModelTrainMan.com

